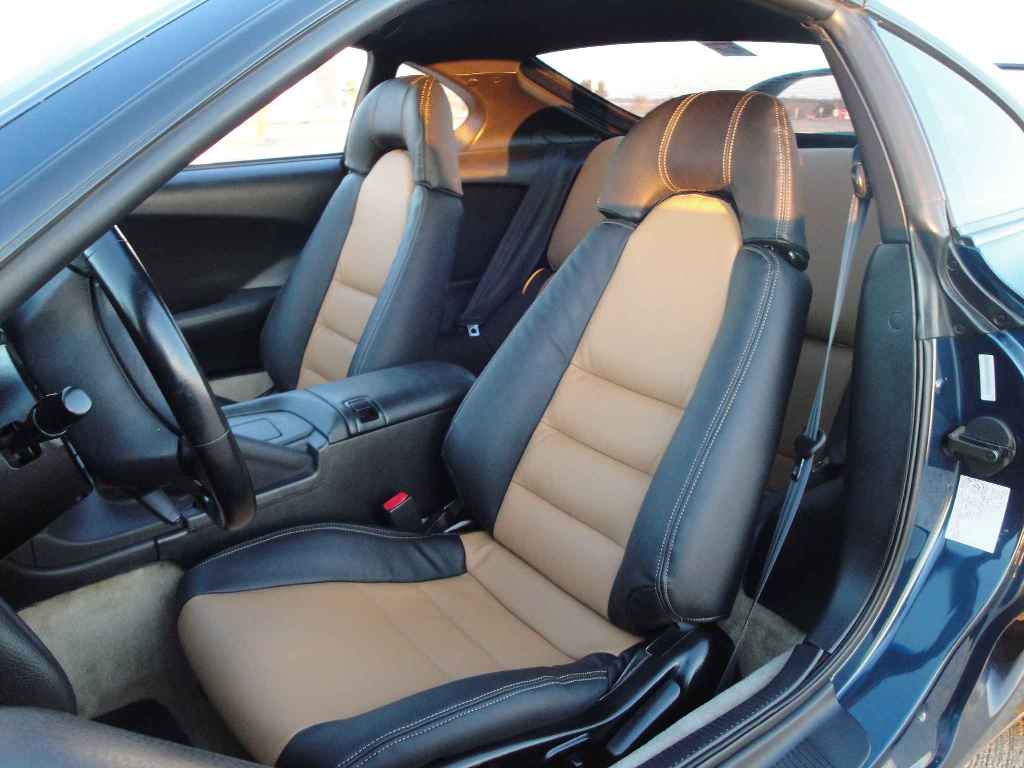
Leather seat cover install- by Ryan V
Ordered covers from Ebay member: leather-seats
listing: click here
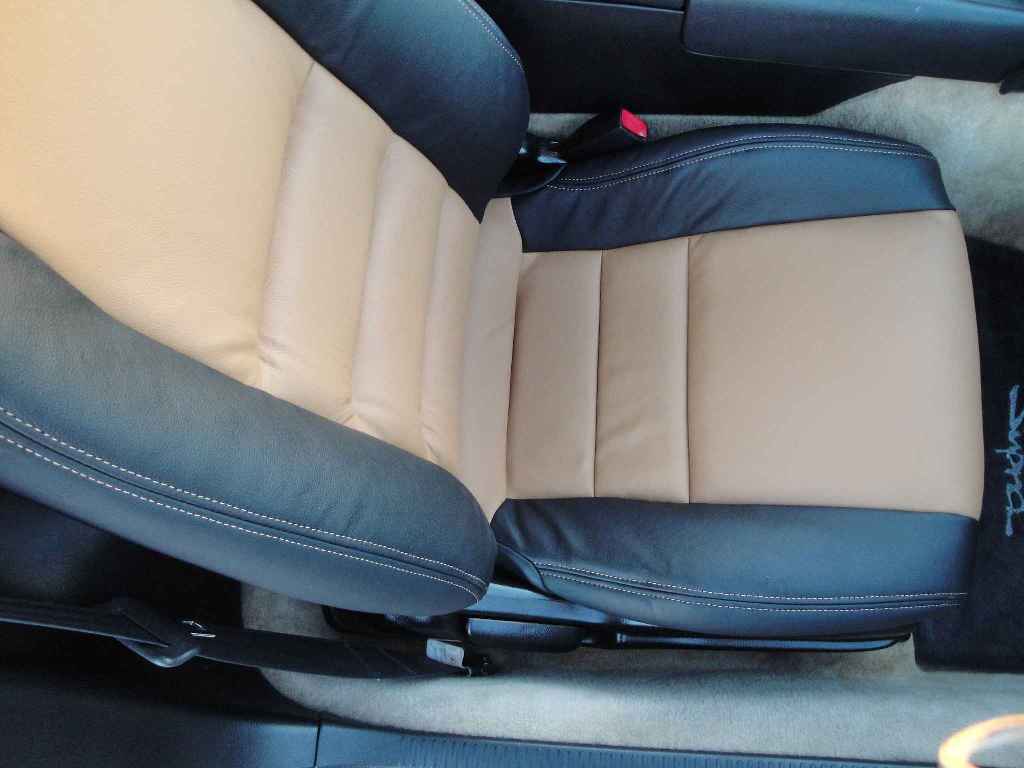
Here are some pics I took during the install.
I used a heat gun on low setting to heat the covers when I really tugged on them.
You can see here how dramatic the change is in the foam when you steam it. I put the face of the steamer nozzle directly up against the foam for the best results, you literally watch it puff out, then you let it dry overnight and it stays. I used the $30 mid range steamer from Lowes which holds just enough water to not have to keep refilling..the smaller steamer isnt good enough...too small
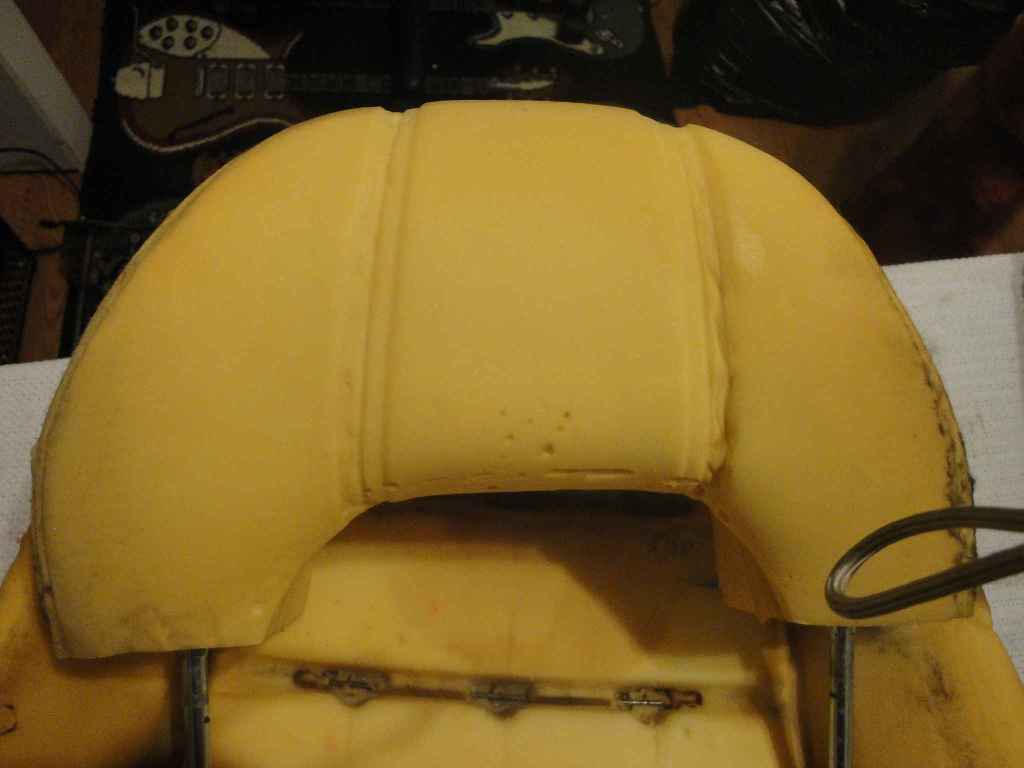
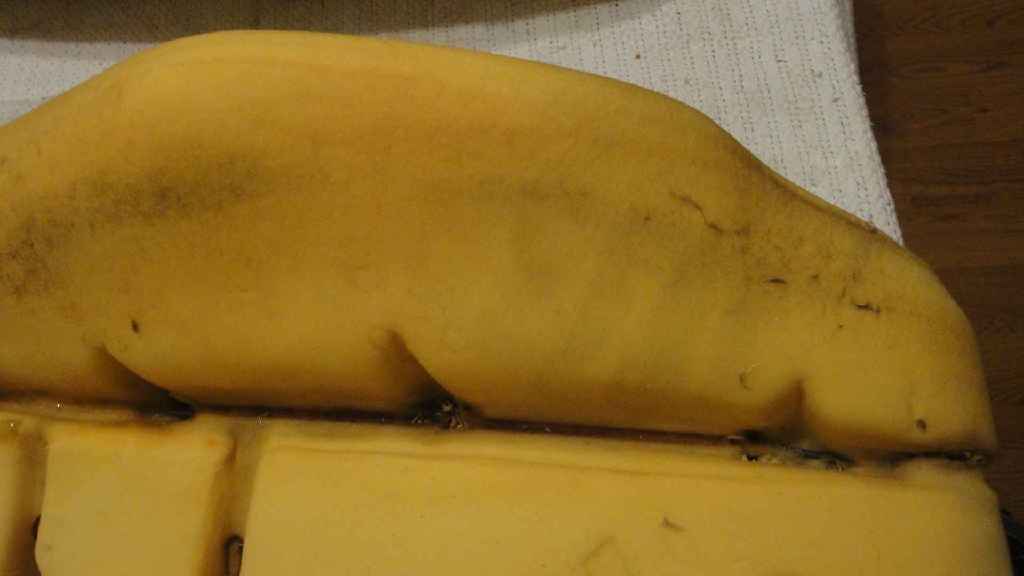
There a couple different types of foam used for the seats. The seat backs are a denser foam which doesn't steam out quite as well as the seat cushions which really puff up with the steam.
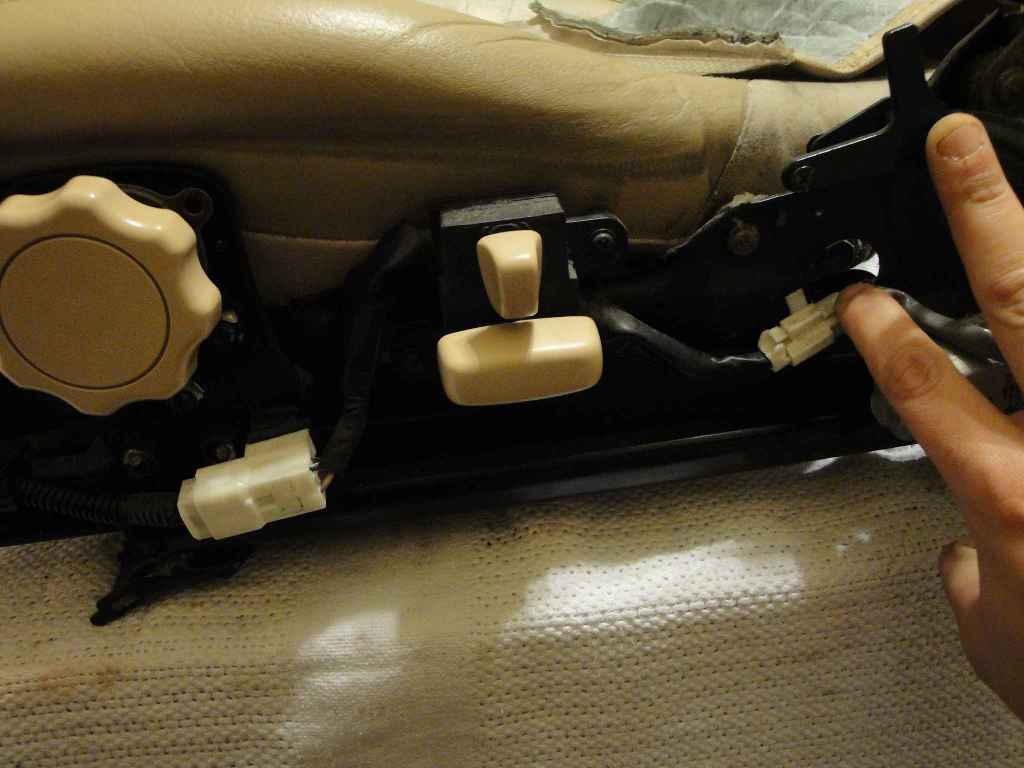
I wasted a lot of time trying to figure out how to get to the rear two bolts for the driver seat bottom cushion. The Supra FSM isn't even clear on how to get to these bolts, but it gave a vague 'HINT'... basically you have reinstall the circular adjuster to move the rear of the cushion up or down to line up with the 2 holes. All seat bolts are 12mm, the seat brackets in the car are 14mm.

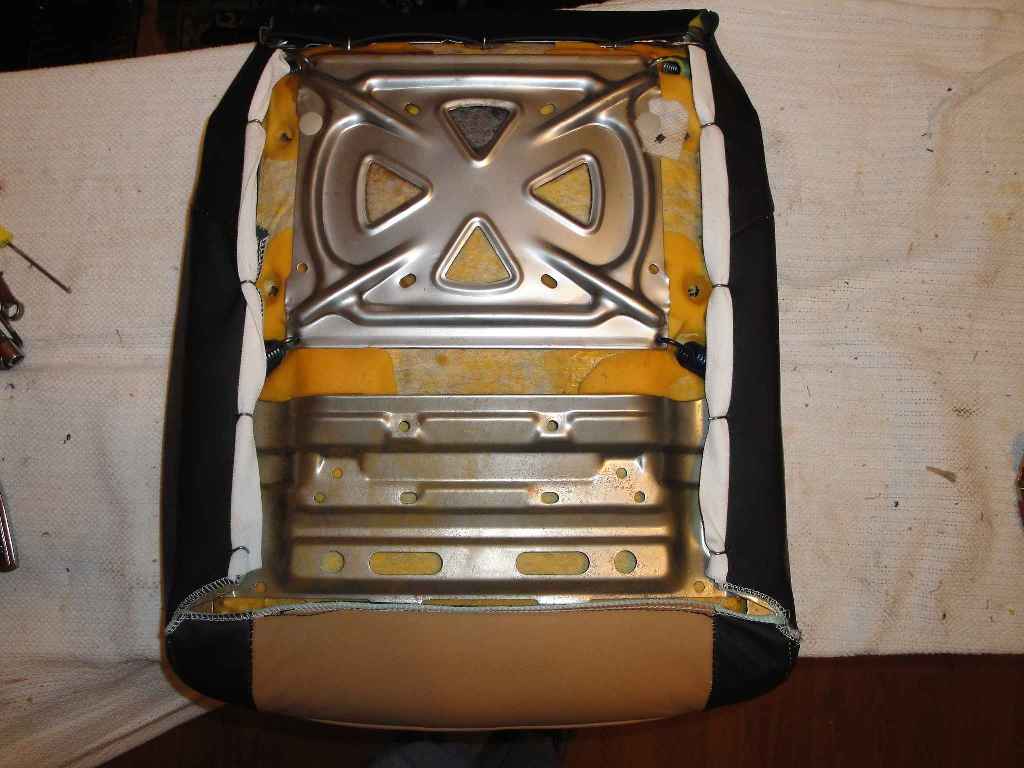
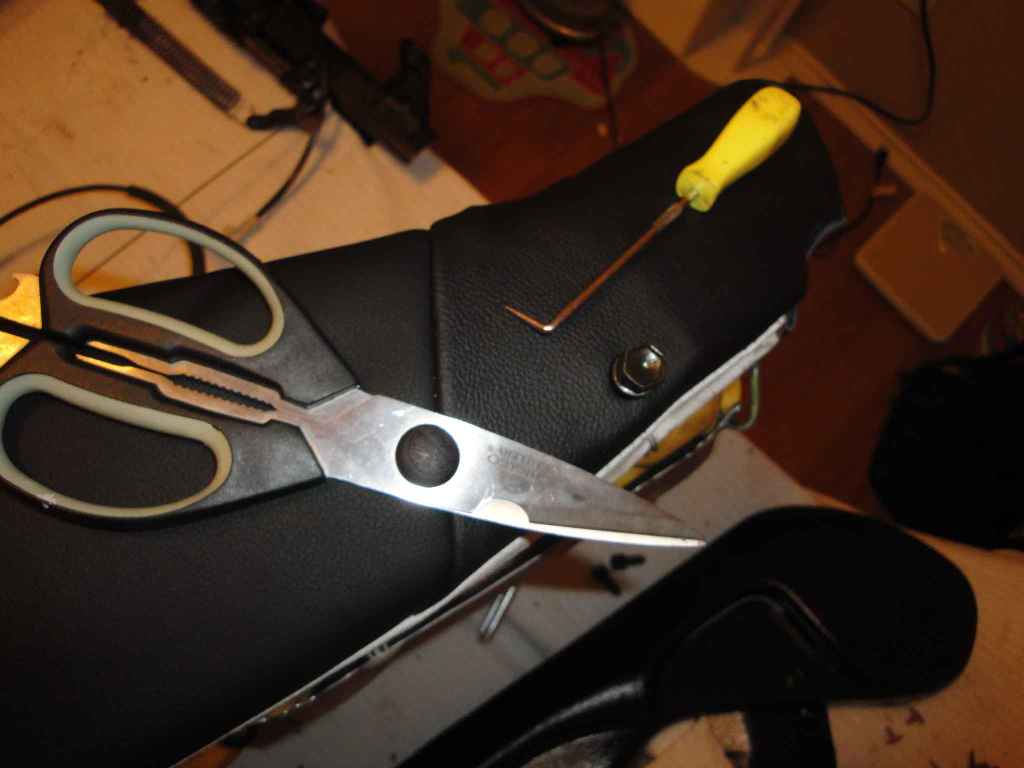
You have to cut the holes for the seat bottom bolts. It's not hard you just find the hole underneathe the leather, start with an exacto knife and cut a small x. You then trim the hole out with scissors.
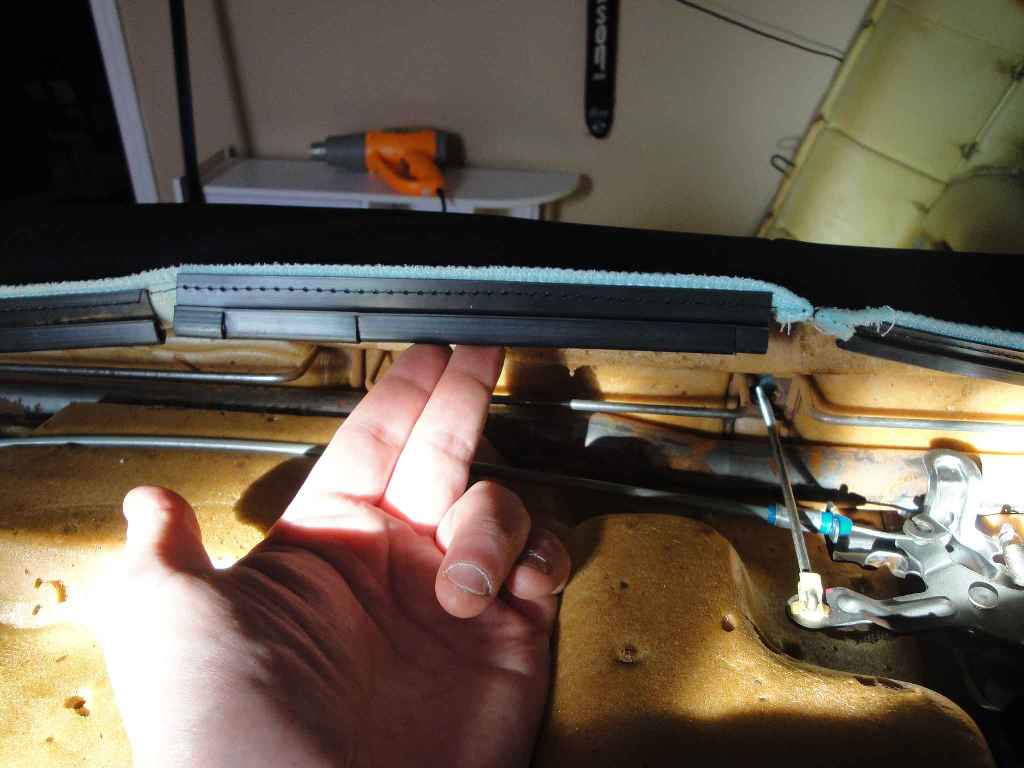
This is what made the rear seat upper hard. You kinda have to 'wing it' here..What I did was cut the black plastic pieces attached to the seat covers to fit around the metal bars in the seat frame. I tucked them in, then slid the rear partical board panel back over or under the leather cover rather. Once your there doing it, you'll understand what's up.
You also have to cut/poke holes for the 3 screws that holds the partical board piece on, and I would recommend cutting the hole for the top seat adjustment after you have final fitment of the cover. I cut the hole early on, but I was lucky and it worked out perfectly.
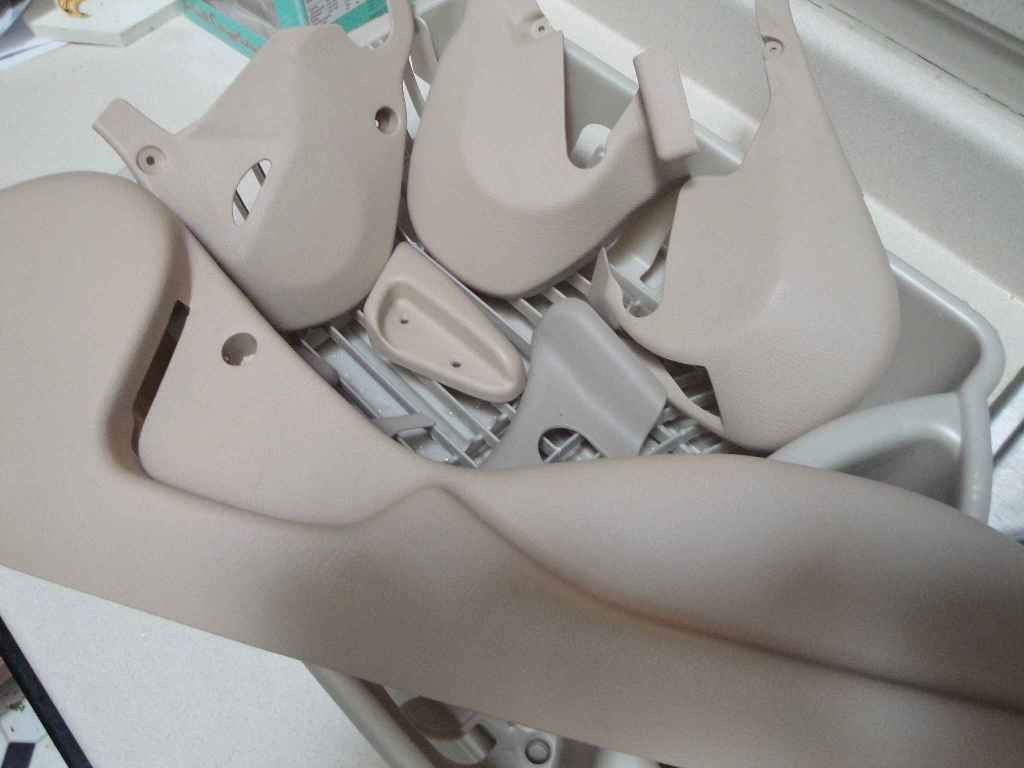
My prep for the plastic was scalding hot water, a stiff bristled dish scrubber and regular dish soap. They looked like new...but basically no grime/oil whatsoever is whats gonna make the Valspar adhere the best. I used 1-2 coats of clear/adhesion promoter first, the multiple coats of gloss black Valspar to get them coated evenly.
before/after scrubbing

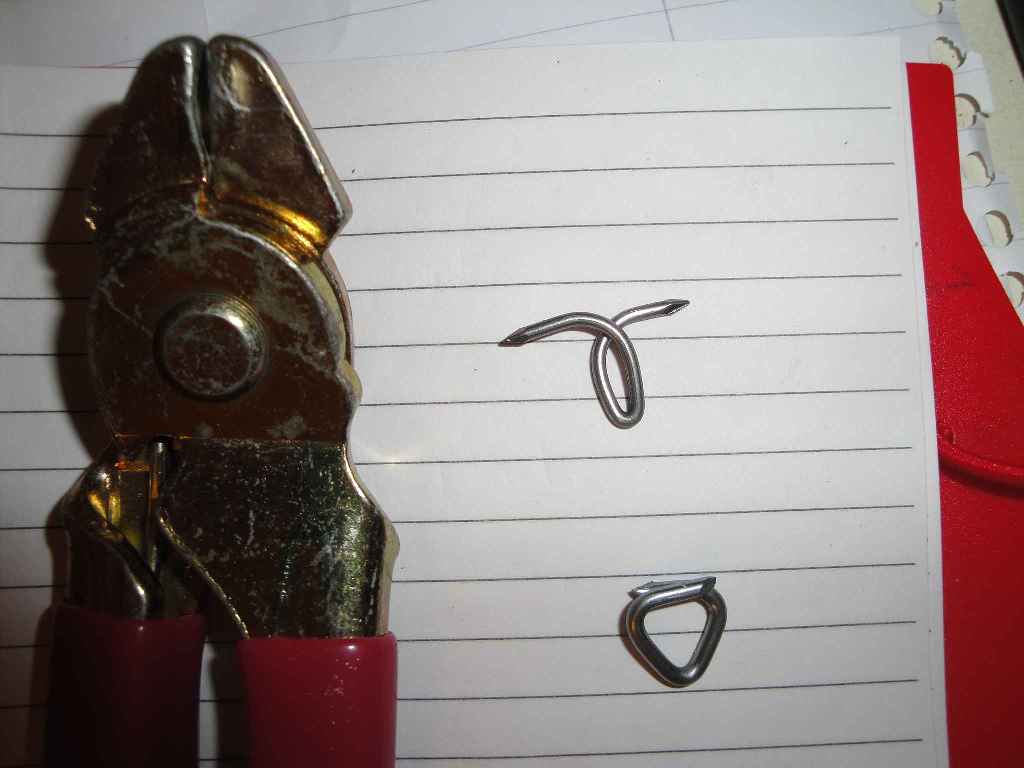
The hog rings up top came in a small bag with the seat covers...definitely not the ones I wanna use as the sharp edges could potentially stick in your butt or poke a hole in your cover during the install. They're more for furniture upholestry.
I instead bought some stainless USA made hog rings off Ebay- 1000 of them for $15-20 shipped..I only used maybe 200 of them or so as I messed up a few of them and threw them away. You can see how they fold into themselves nicely to eliminate the sharp edges.
The tricky part of the front-rear seat back is the bottom of the rear cover. You have to wing it again...but basically it zips down, but you have to stretch the hell out of the cover to attach it at the bottom portion. I used a heat gun on low setting to heat the covers when I really tugged on them.
'HINT' The very bottom of the front cover comes through to the back, and is stretched up to attach to the rear seat cover piece. I had to really stretch both at the same time to make it fit nice and tight.
The lower seat cushion rear flap is supposed to go down and around the lower seat frame silver metal bar once the cushion is bolted back into the seat frame. It is attached to the underside of the lower seat cushion. I didn't do this though as the stretch was just too far, and the covers weren't designed to do it I guess. The factory used a cheap piece of black cloth to cover that distance. What I may do as a simple neat solution is use a glue gun to attach a piece of black cloth or leather to cover this gap so you don't see the silver metal bar at the bottom rear(although you cant seat it anyways once the seat is installed). It in no way looks bad though...this is just where it really differed from OEM fitment.

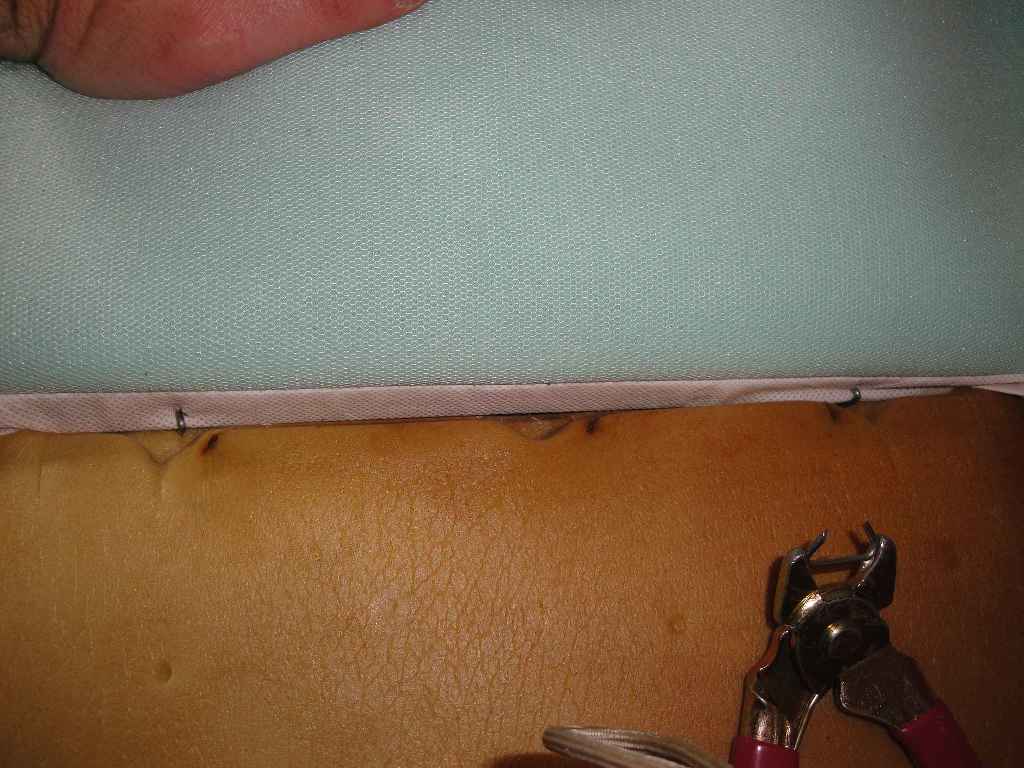
If you mess up the hog rings, they are easy to remove...you basically grab onto them with pliers or the actual hog rings pliers and yank/twist them right off. No need to snip them, imo.
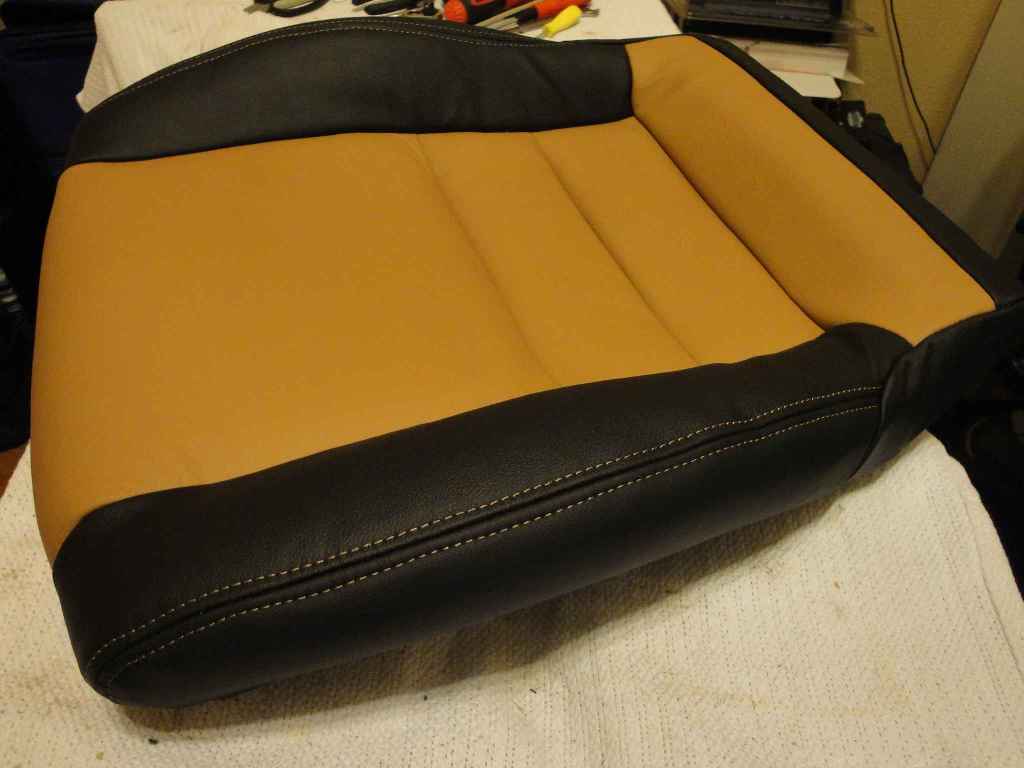
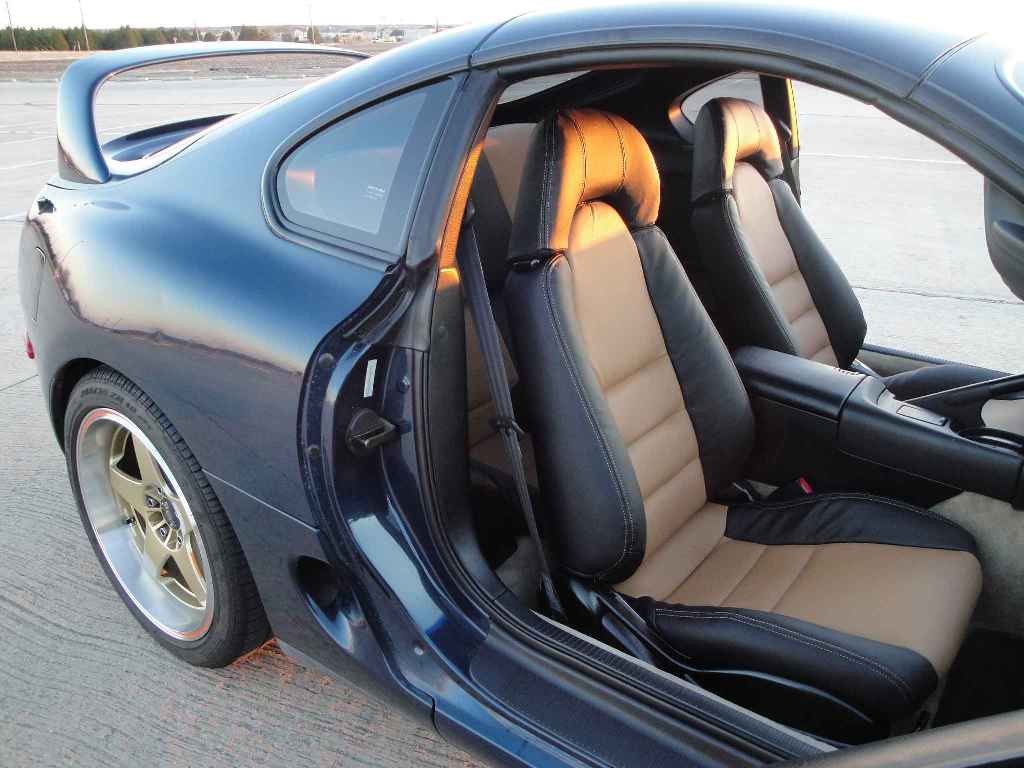
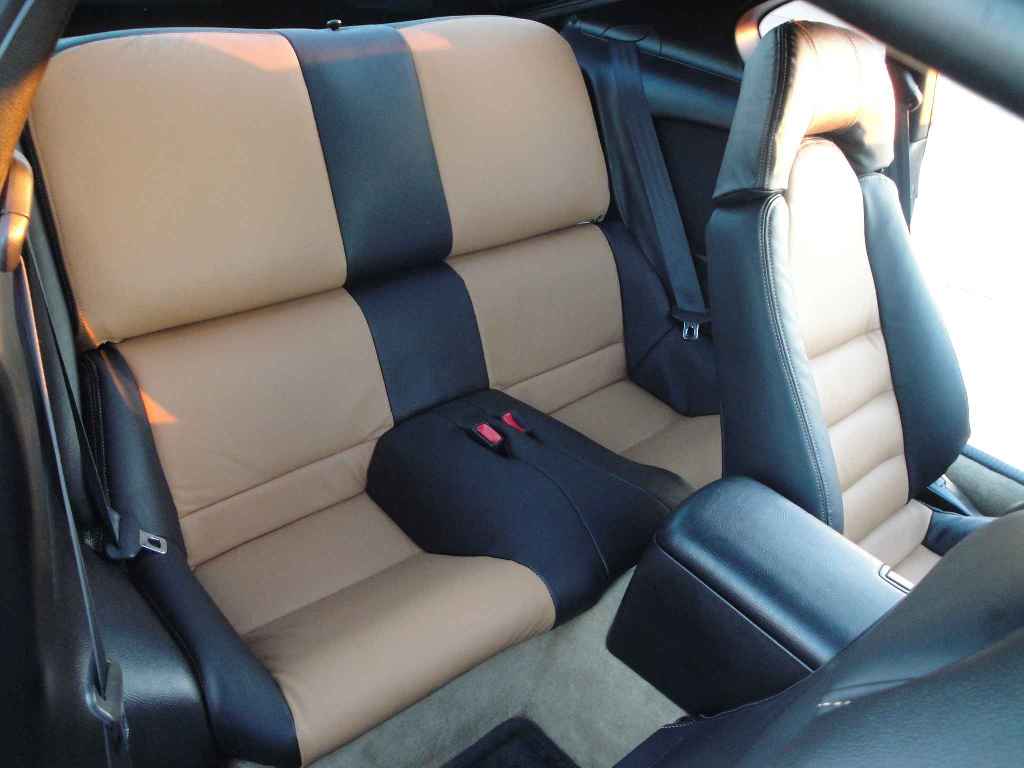
Overall these covers fit really well, but steaming the foam was key. These will look even better after the car sits out in the sun during the summer.
The hardest piece to cover was the rear upper, for me.
I'm going to be ordering black carpet at some point soon to finish it off.


Ordered covers from Ebay member: leather-seats
listing: click here
Here are some pics I took during the install.
I used a heat gun on low setting to heat the covers when I really tugged on them.
You can see here how dramatic the change is in the foam when you steam it. I put the face of the steamer nozzle directly up against the foam for the best results, you literally watch it puff out, then you let it dry overnight and it stays. I used the $30 mid range steamer from Lowes which holds just enough water to not have to keep refilling..the smaller steamer isnt good enough...too small


There a couple different types of foam used for the seats. The seat backs are a denser foam which doesn't steam out quite as well as the seat cushions which really puff up with the steam.
I wasted a lot of time trying to figure out how to get to the rear two bolts for the driver seat bottom cushion. The Supra FSM isn't even clear on how to get to these bolts, but it gave a vague 'HINT'... basically you have reinstall the circular adjuster to move the rear of the cushion up or down to line up with the 2 holes. All seat bolts are 12mm, the seat brackets in the car are 14mm.


You have to cut the holes for the seat bottom bolts. It's not hard you just find the hole underneathe the leather, start with an exacto knife and cut a small x. You then trim the hole out with scissors.

This is what made the rear seat upper hard. You kinda have to 'wing it' here..What I did was cut the black plastic pieces attached to the seat covers to fit around the metal bars in the seat frame. I tucked them in, then slid the rear partical board panel back over or under the leather cover rather. Once your there doing it, you'll understand what's up.
You also have to cut/poke holes for the 3 screws that holds the partical board piece on, and I would recommend cutting the hole for the top seat adjustment after you have final fitment of the cover. I cut the hole early on, but I was lucky and it worked out perfectly.

My prep for the plastic was scalding hot water, a stiff bristled dish scrubber and regular dish soap. They looked like new...but basically no grime/oil whatsoever is whats gonna make the Valspar adhere the best. I used 1-2 coats of clear/adhesion promoter first, the multiple coats of gloss black Valspar to get them coated evenly.
before/after scrubbing


The hog rings up top came in a small bag with the seat covers...definitely not the ones I wanna use as the sharp edges could potentially stick in your butt or poke a hole in your cover during the install. They're more for furniture upholestry.
I instead bought some stainless USA made hog rings off Ebay- 1000 of them for $15-20 shipped..I only used maybe 200 of them or so as I messed up a few of them and threw them away. You can see how they fold into themselves nicely to eliminate the sharp edges.

The tricky part of the front-rear seat back is the bottom of the rear cover. You have to wing it again...but basically it zips down, but you have to stretch the hell out of the cover to attach it at the bottom portion. I used a heat gun on low setting to heat the covers when I really tugged on them.
'HINT' The very bottom of the front cover comes through to the back, and is stretched up to attach to the rear seat cover piece. I had to really stretch both at the same time to make it fit nice and tight.
The lower seat cushion rear flap is supposed to go down and around the lower seat frame silver metal bar once the cushion is bolted back into the seat frame. It is attached to the underside of the lower seat cushion. I didn't do this though as the stretch was just too far, and the covers weren't designed to do it I guess. The factory used a cheap piece of black cloth to cover that distance. What I may do as a simple neat solution is use a glue gun to attach a piece of black cloth or leather to cover this gap so you don't see the silver metal bar at the bottom rear(although you cant seat it anyways once the seat is installed). It in no way looks bad though...this is just where it really differed from OEM fitment.

If you mess up the hog rings, they are easy to remove...you basically grab onto them with pliers or the actual hog rings pliers and yank/twist them right off. No need to snip them, imo.

Overall these covers fit really well, but steaming the foam was key. These will look even better after the car sits out in the sun during the summer.
The hardest piece to cover was the rear upper, for me.
I'm going to be ordering black carpet at some point soon to finish it off.